HandbookModelling
Build on the canvas
The canvas is where a model takes shape: you place processes, connect them with flows and edit their amounts in the inspector. This page covers every step of building a product system by hand.
The Model page at a glance#
Open a model and you land on the Model page. It has three columns: Semantic search on the left, the canvas in the middle, and the inspector with the Audit log on the right. The inspector shows whatever you select. The chat dock sits at the bottom right.
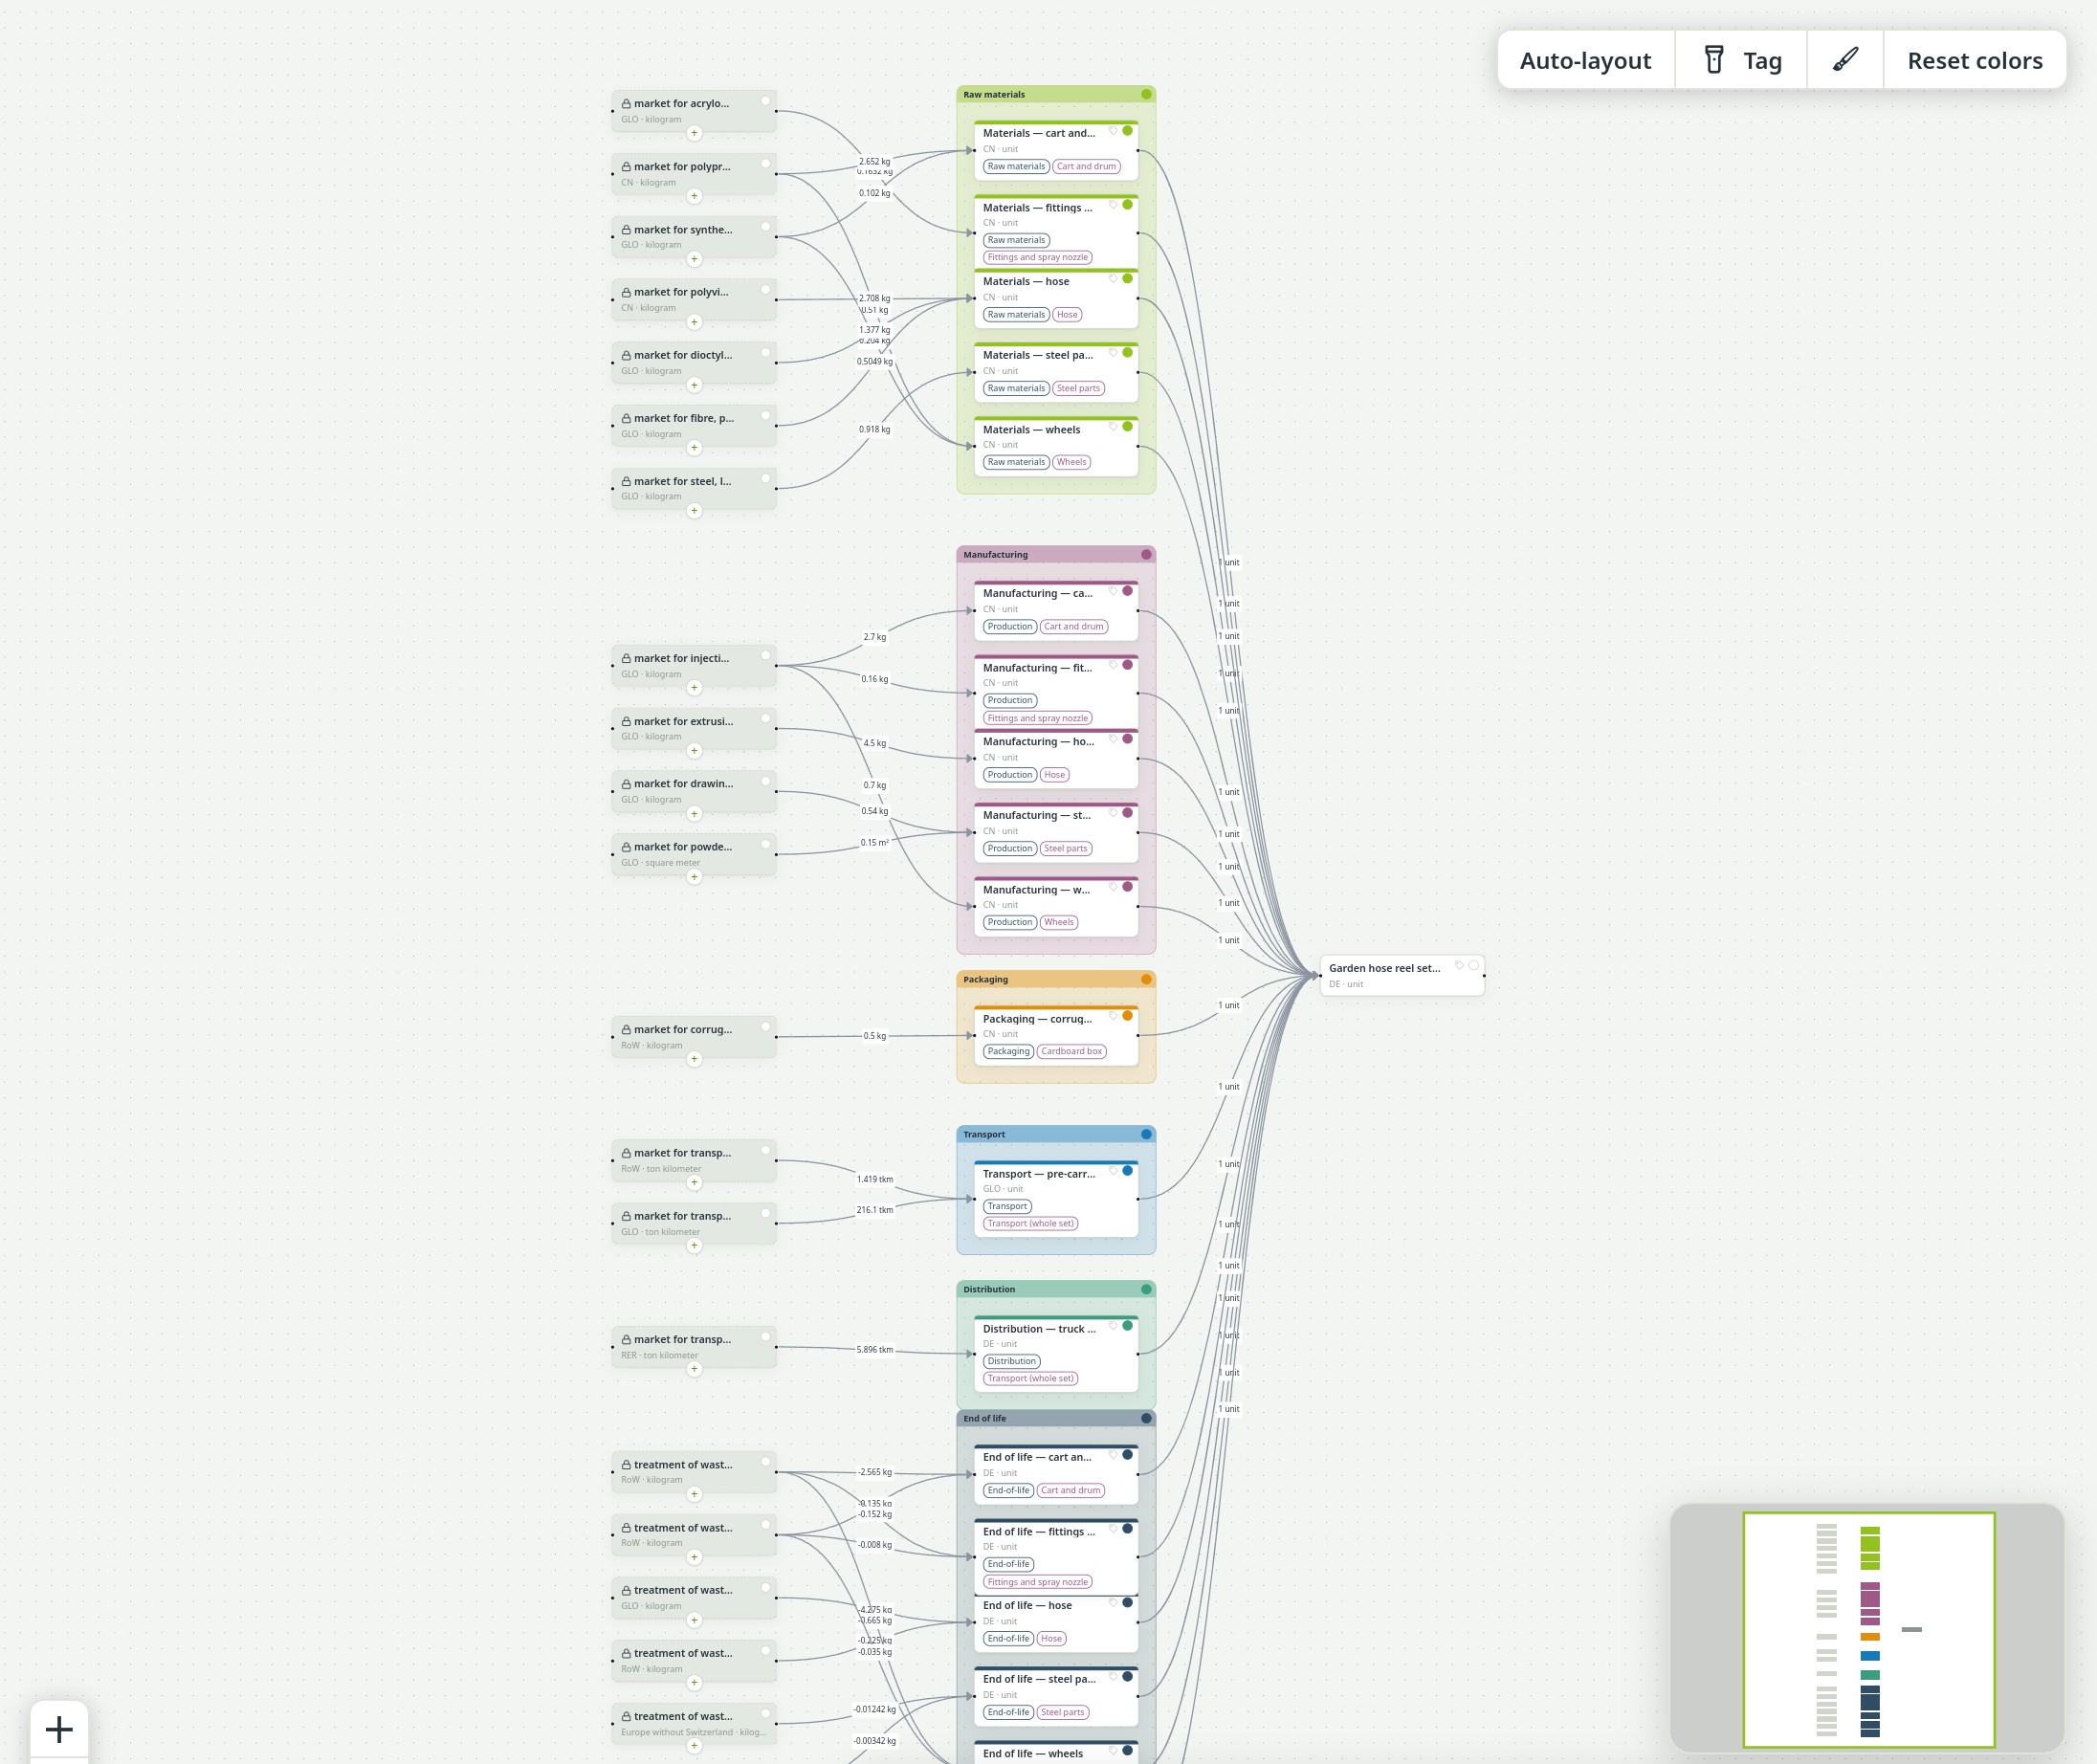
A box on the canvas is a process. There are two kinds, and the difference matters:
- Your own processes
- Processes that belong to this model. You can rename them, change their amounts and delete them.
- References
- Datasets from a background database such as ecoinvent or BAFU, or from your library My processes. They carry a padlock and are read-only here: you use them, but you do not change them.
Add processes#
From the search#
Find a dataset in the search panel on the left (see Find the right dataset). Then either click Select on the hit, or drag the hit onto the canvas to drop it exactly where you want it. Either way it arrives as a locked reference. If the dataset is on the canvas already, you get a second box of it — for a second process that should count it under another life-cycle phase (see Life-cycle phases and tags).
Your own process#
For a step of your own — the assembly of the reel, say — choose Process in the model toolbar (in a narrower window the toolbar shows icons only: Process is the plus beside a box, Model the plus beside the model tree), or right-click an empty spot on the canvas and choose + New process here. The New process dialog asks for four things:
- Name: what the step is, e.g. hose reel assembly.
- Reference product: what it delivers, e.g. hose reel set.
- Unit: the unit of that product. The field suggests units already in use; free-text units are allowed only if you switch on SettingsModellingAllow free-text units.
- Location: where the step happens, GLO unless you change it. The field suggests the locations your background data and your models already use.
Choose Create. The new box is selected and the inspector opens on it, ready for the description and the flows. If you started from the right-click menu, the box appears where you clicked.
Edit a reference: Localize#
You never change background data itself. To adapt a dataset — a different electricity mix, a lower energy demand — right-click the reference and choose Localize (edit). PrismLCA copies it into your model as one of your own processes and puts the copy in its place: the arrows that pointed at the reference now point at the copy, in the canvas and in the calculation.
The assistant and external agents can localize as well: ask them to make a dataset editable. They can also take its direct suppliers along, up to 30 of them. Each supplier then becomes a process of your model too, and the copy draws on those copies instead of the background — so you can change, say, the electricity inside a supplier. The suppliers' own inputs stay in the background. Results stay the same until you change a copy, and one Undo takes the whole set back.
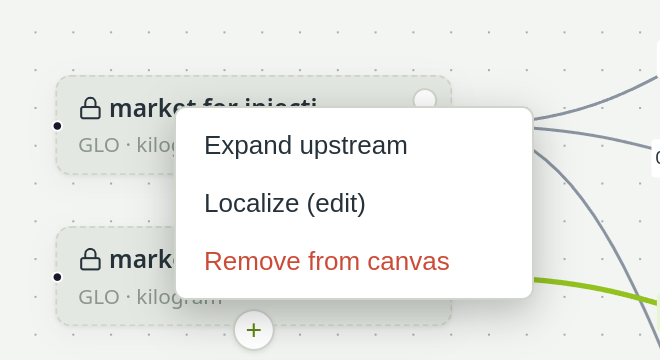
The right-click menu of your own process offers Duplicate, Move to library and Delete instead. Move to library is the opposite of Localize: the process moves into My processes and the model keeps a locked link to it, so other models can use the same process. See Your library.
Connect processes#
Every box has a handle on its right edge (what it supplies) and one on its left edge (what it consumes). To make one process an input of another:
Drag from the supplier#
Press on the right-hand handle of the supplying box and drag to the left-hand handle of the box that uses it.
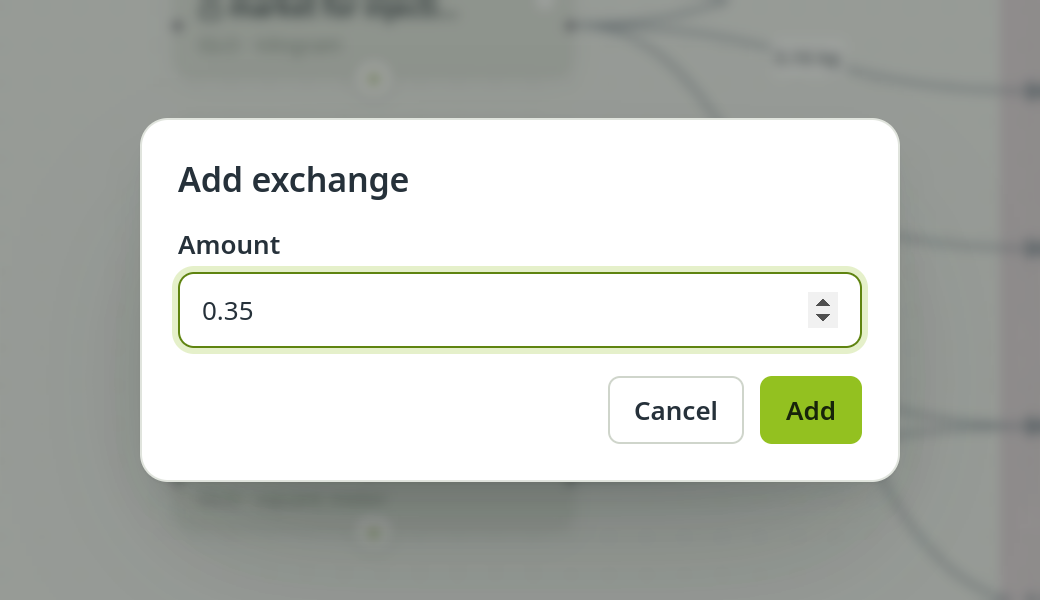
Enter the amount#
The Add exchange dialog asks for the Amount. Amounts are always per one unit of the consuming process's reference product: 0.45 kg of PVC per hose, not per batch.
Change it later#
Click the arrow to open Edit exchange amount, or edit the amount in the inspector (below).
Each arrow is labelled with its amount and unit, and under them the product it carries. Both lines can be switched off under Settings → Modelling — handy on a crowded canvas.
Edit a process in the inspector#
Click one of your own processes. The inspector on the right shows it and lets you edit everything inline; a change applies when you leave the field. There is no save button.
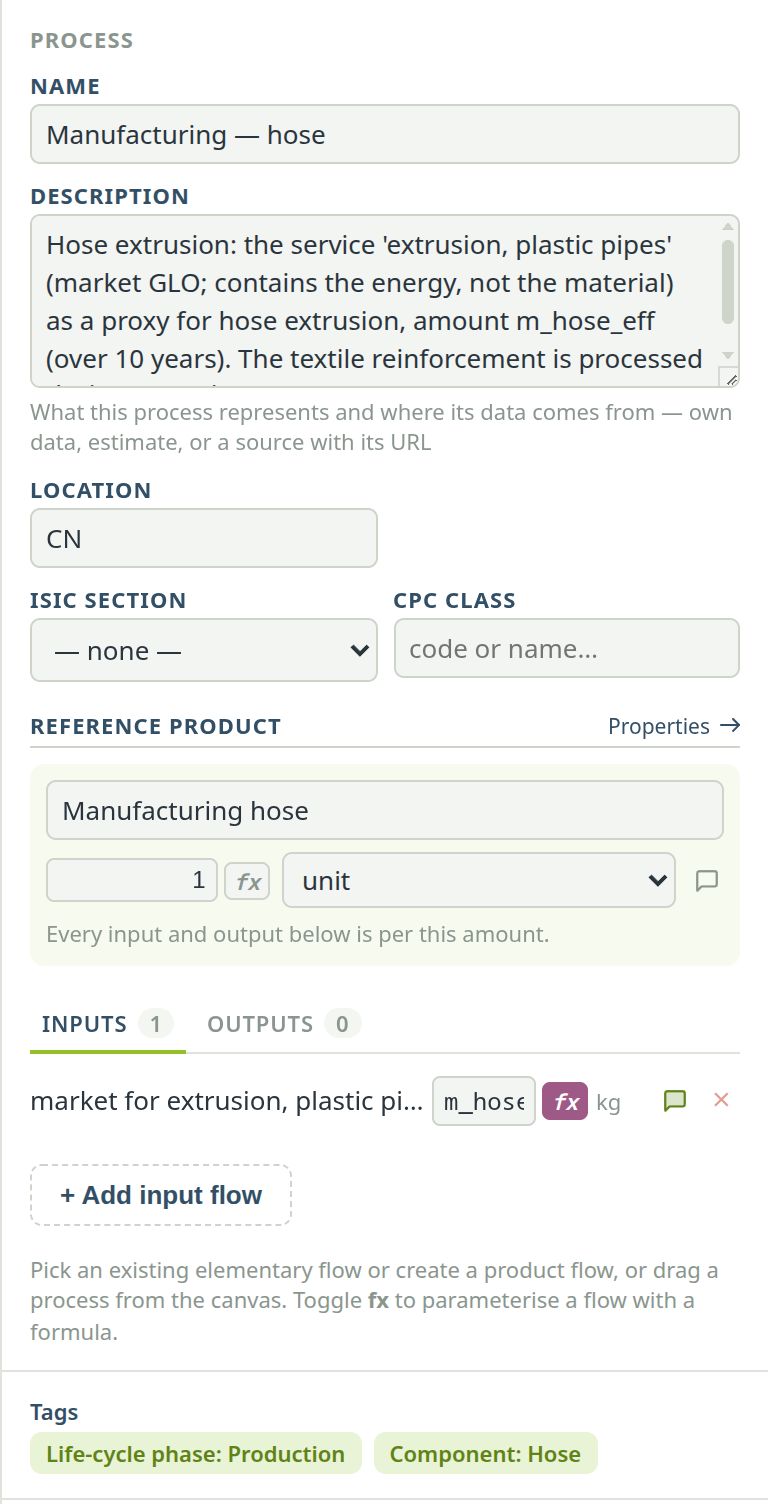
- Name, Description and Location. Write the description for a reader: what the process represents and where its data comes from. The report writer reads it. Location is free text, and suggests as you type every location your background databases and your own models use — type a code (DE) or a name (Germany); the ones your models already use come first.
- ISIC section and CPC class: a classification. It decides where the process's own impact lands when Results splits bars by ISIC or CPC.
- Reference product: one block above the flows with what the process delivers, how much (normally 1) and in which unit — every input and output below is per this amount. Properties beside the heading opens the product's flow properties (carbon content, price, heating value). A negative amount makes the process a treatment (the ecoinvent convention for waste); the block then says Treatment, and processes that send it their waste take it in with a negative amount. If you change the unit while other processes use this one, a warning says their amounts keep their numbers and now mean the new unit.
- Inputs and Outputs: two tabs listing the flows, each with its amount, unit and a remove button (×). With more than three rows you can sort by name or amount. On a background dataset, whose amounts cannot be edited, double-click an amount to copy it: the full, unrounded value goes to the clipboard, with the decimal separator of your computer's regional format, so it pastes into a spreadsheet as a number.
Add a flow without drawing an arrow#
+ Add input flow (or + Add output flow on the Outputs tab) opens a dialog with two tabs:
- Existing elementary flow: a resource from nature (water, land) or, on the Outputs tab, an emission to nature. Search, pick, enter the amount and choose Add.
- New product flow (inputs only): type a product name, unit and amount. PrismLCA creates a new process of your own with that product and links it in as the supplier. Model its inputs later, or leave it as a cut-off.
Formulas and comments on a flow#
Each flow row has two small buttons next to the amount. fx turns the amount into a formula over your parameters,
such as mass * 0.05; see Parameters and formulas. The speech bubble holds
a comment: why this amount, this sign, this dataset. It turns green once something is written. A reviewer's first
question about a foreground number is where it came from — this is the place to answer it, right next to the number.
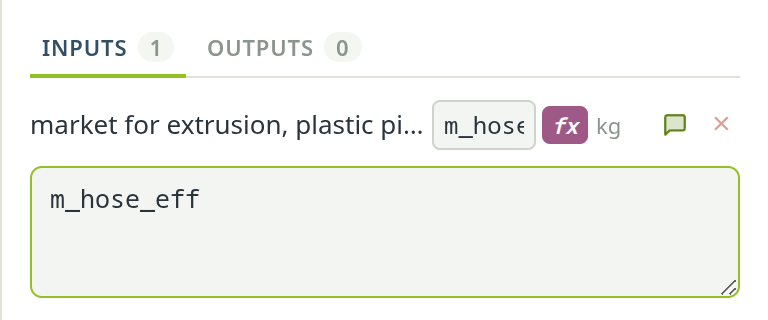
Select a reference instead and the inspector shows the same fields read-only, with a Details link beside the name that opens the full dataset documentation, and the reference product on one line.
Look upstream#
When a model opens, the background datasets your processes use directly are shown. To see what a reference itself consumes, click the + badge on its box, or right-click it and choose Expand upstream. Its inputs appear one tier further to the left. − or Collapse upstream hides them again. This only changes the view — the model stays as it is.
Select, group and colour#
Selecting several boxes#
Drag on an empty part of the canvas to draw a selection box, or hold Shift or Ctrl while you click boxes. Colours, tags and deleting then apply to the whole selection, and so do Localize (edit), Remove from canvas, Delete, Expand upstream and Collapse upstream in the right-click menu — each to the selected boxes it fits. The right button opens the menus.
Moving around#
Turn the mouse wheel to zoom. To move the canvas, use whichever suits your mouse:
- Drag with the middle mouse button.
- Hold Space and drag with the left button.
- Click the hand tool (the four-arrow button at the top right of the canvas). The pointer becomes a hand, and a left-drag moves the canvas, also over a process. The button now shows the arrow pointer: click it again or press Esc to select with the mouse again. Choosing a brush colour switches the hand off as well.
When the assistant has added or removed processes or links, the canvas fits the whole model into view once its answer is complete. A turn that only looked things up, calculated or changed amounts leaves your view as it was.
Groups#
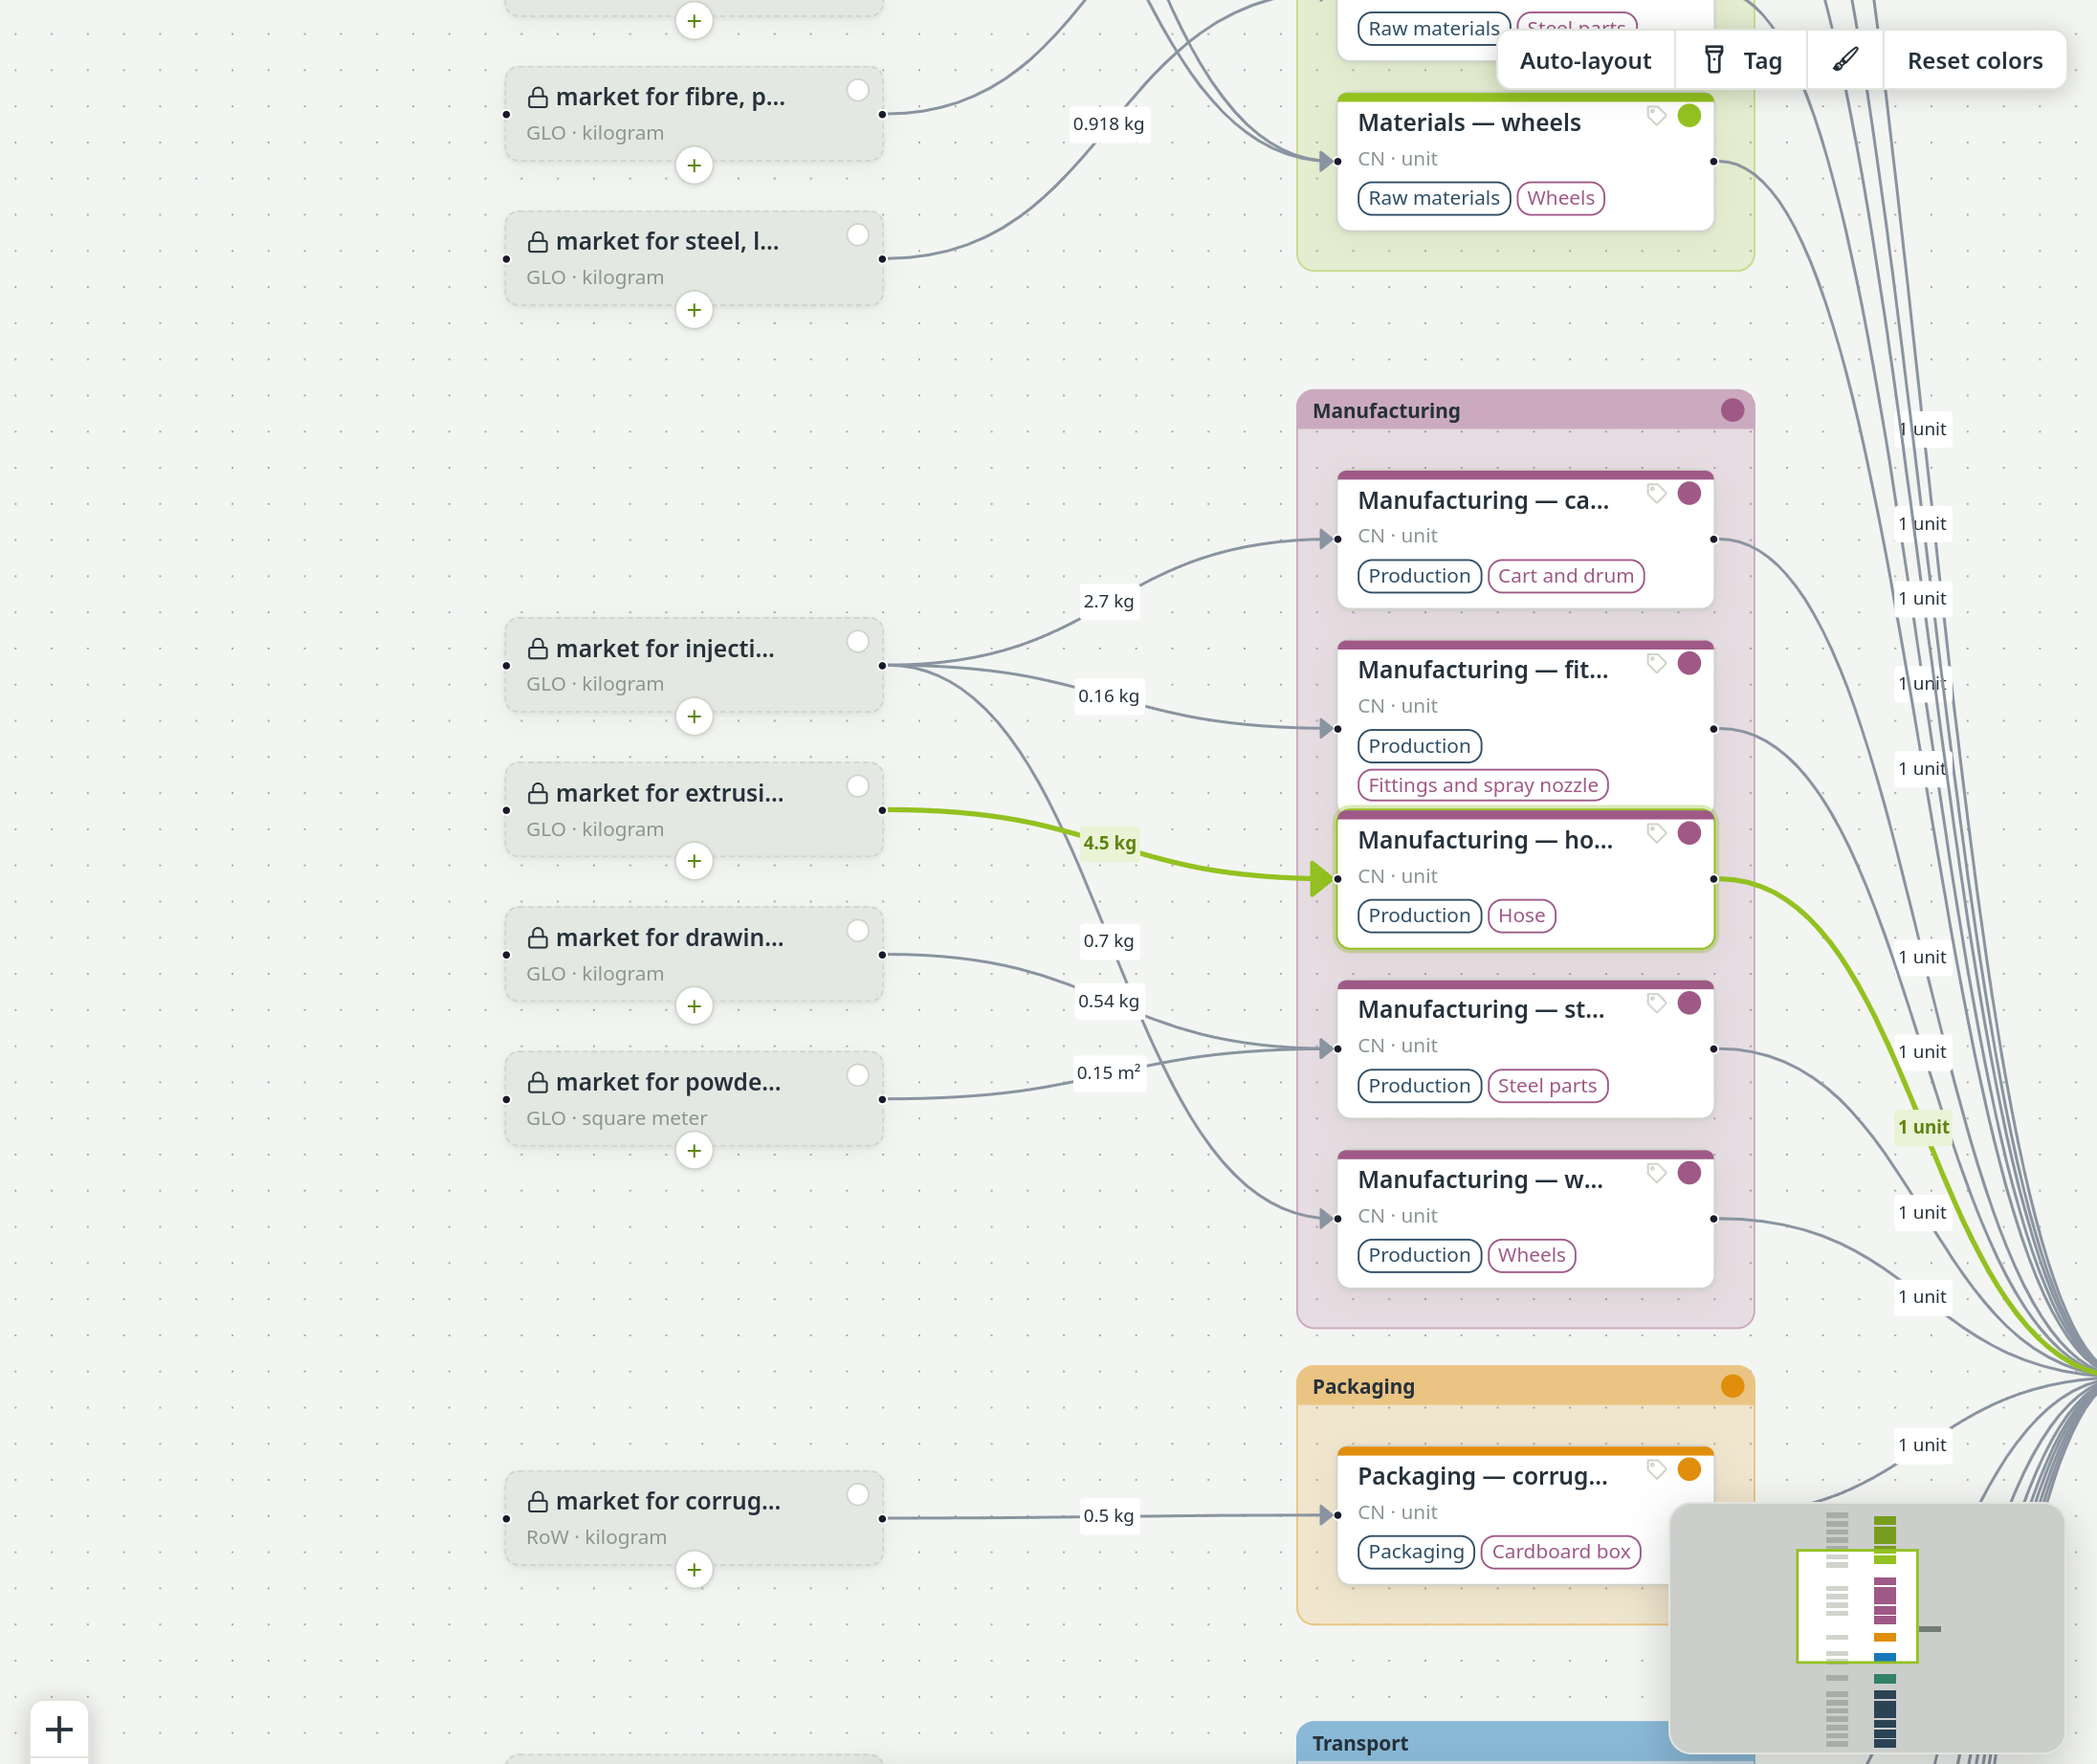
With several processes selected, choose Group at the top right of the canvas, or Group selection in the right-click menu. PrismLCA draws a tinted box behind them. Groups are a reading aid only: they change nothing in the model or the result.
- Double-click a box's top strip to rename it, or right-click it for Rename…, Bring forward, Send backward and Ungroup. An unnamed box is called “Group of N”.
- Drag a box by its top strip to move the whole group. The dot in its top-right corner changes its colour.
- Add to group puts the rest of a selection into the box it already reaches into. Ungroup removes the box and keeps every process.
Layout and colours#
The tools at the top right of the canvas tidy up a model:
- Auto-layout arranges all boxes. It keeps each group's processes together. Until you move a box yourself, the canvas arranges itself after every change, also while the assistant builds; once you have arranged it, your positions stay; Auto-layout arranges everything again, the boxes added since included.
- Tag highlights every process that carries one tag.
- The brush (🖌) paints a colour: pick a colour, then drag a box over the processes. Each box also has its own colour dot. Reset colors removes all colours.
Colours are for you; they do not reach the result. Positions, groups and colours are stored with the model, so they travel with a .prism export.
Work faster#
- Delete or Backspace acts on the selection. A reference is only removed from the canvas; your own processes are deleted from the model after asking, and Undo brings them back — where they stood, in their colour and group. A process that other processes still use is asked about on its own, one after the other, naming who uses it.
- Esc closes an open menu and turns the brush or the hand tool off.
- In a formula field, the matching parameter names pop up as you type: take one with the arrow keys and Enter or Tab.
- Every change is listed in the Audit log and can be taken back with Undo in the toolbar. See Check, undo and the audit log.
Choose the functional unit and calculate#
A calculation runs for one unit of the process you select. Click the process that represents your product — usually the last one, at the right — and the toolbar pill shows FU: 1 and its unit. Pick an impact method next to it and choose Calculate. Calculate stays disabled until exactly one process is selected. Read on in Calculate.