HandbookModelling
Share and export models
A model lives in your workspace, but it becomes a file when you need one: to send it to a colleague, to archive a study, or to open it in Brightway or the Activity Browser. This page also covers duplicating models, sorting them into folders and filling in their study information.
Send a model as a .prism file#
A .prism file (a bundle) holds your model and references to the background
data it uses. It is the way to hand a model to another PrismLCA user.
Open the export sheet#
On the Overview, click the export icon on a model (Export model). On the Model page, the same button sits in the toolbar next to Undo and Redo.
Say what it is for#
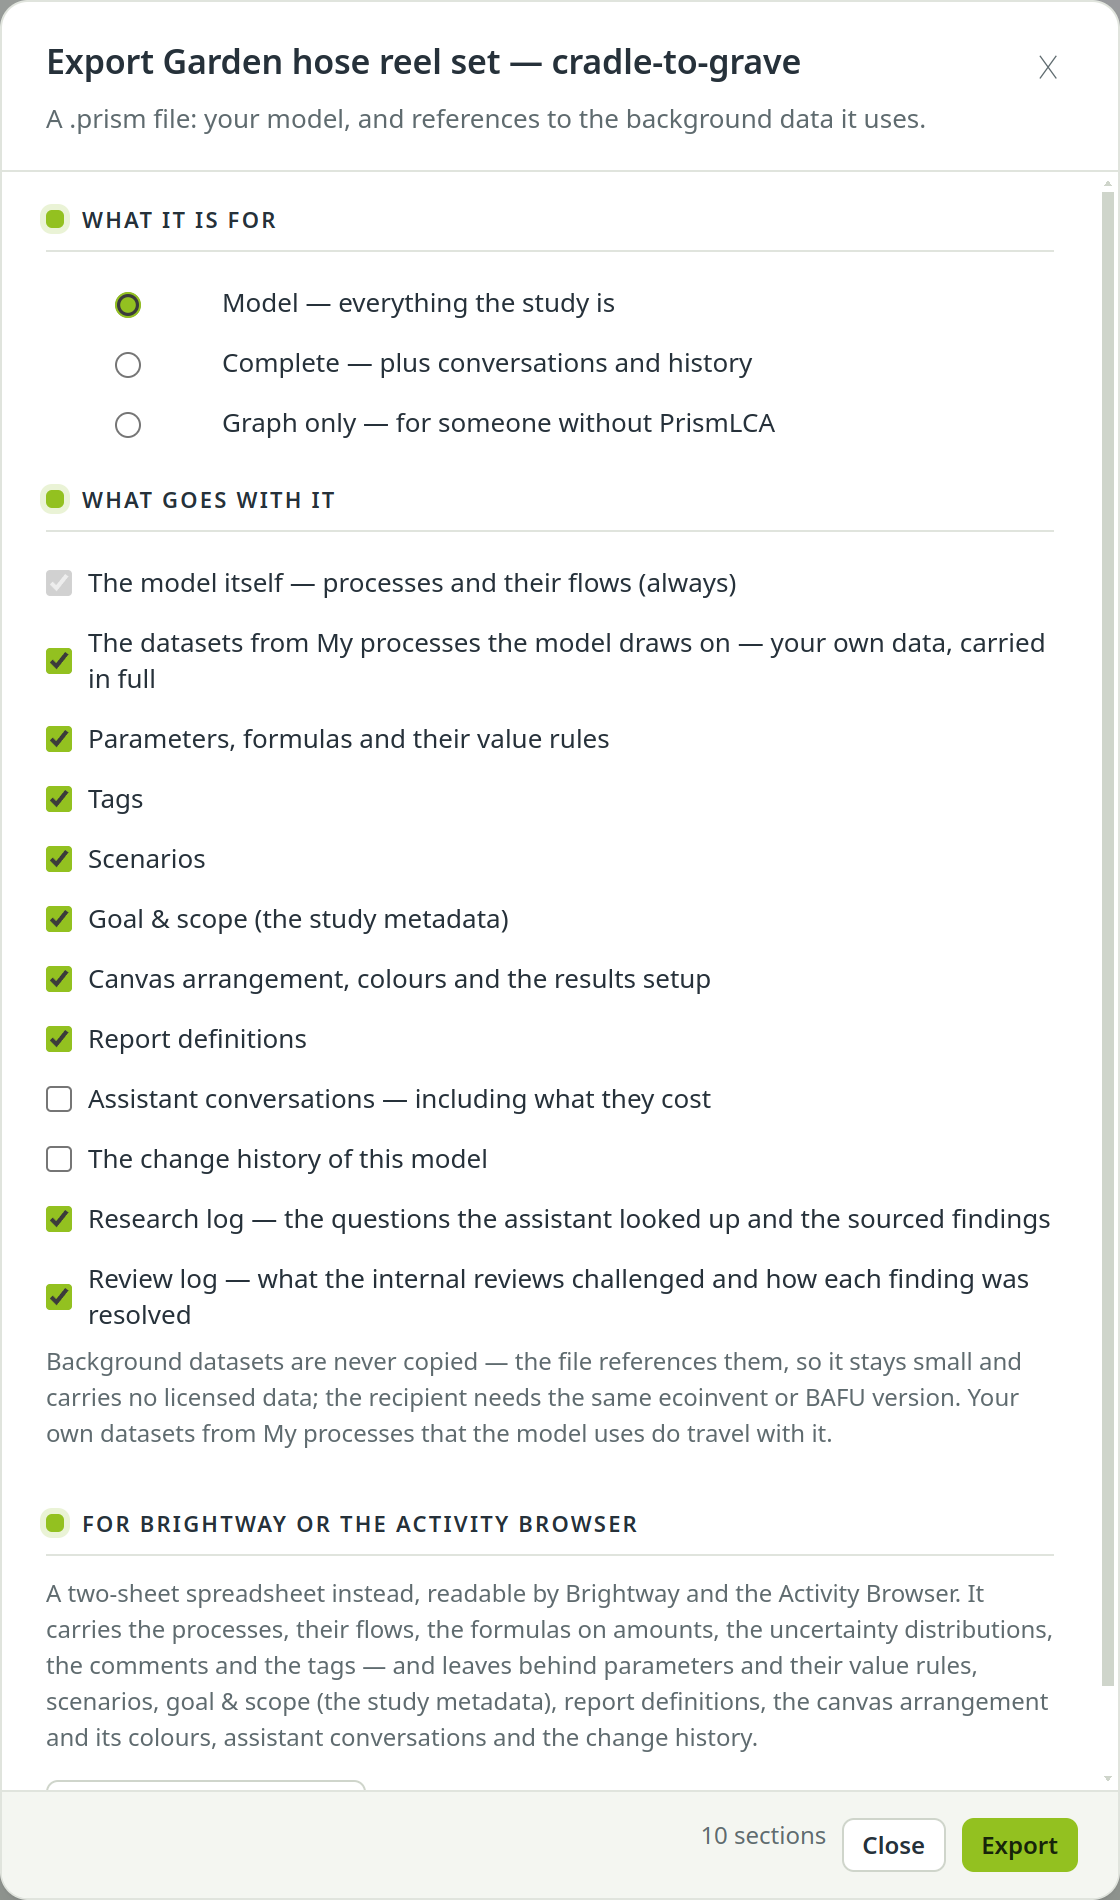
Under What it is for, pick one of three presets:
- Model — everything the study is: processes, your own datasets the model uses, parameters, scenarios, tags, goal and scope, the canvas arrangement, the report definitions and the assistant's research and review logs (questions, sources and findings, no conversations). The usual choice.
- Complete — plus conversations and history: adds the assistant conversations and the model's change history.
- Graph only — for someone without PrismLCA: only the processes and their flows.
Under What goes with it you can tick sections on or off one by one. The model itself is always included.
Export#
Choose Export and pick where to save the file.
Import a .prism file#
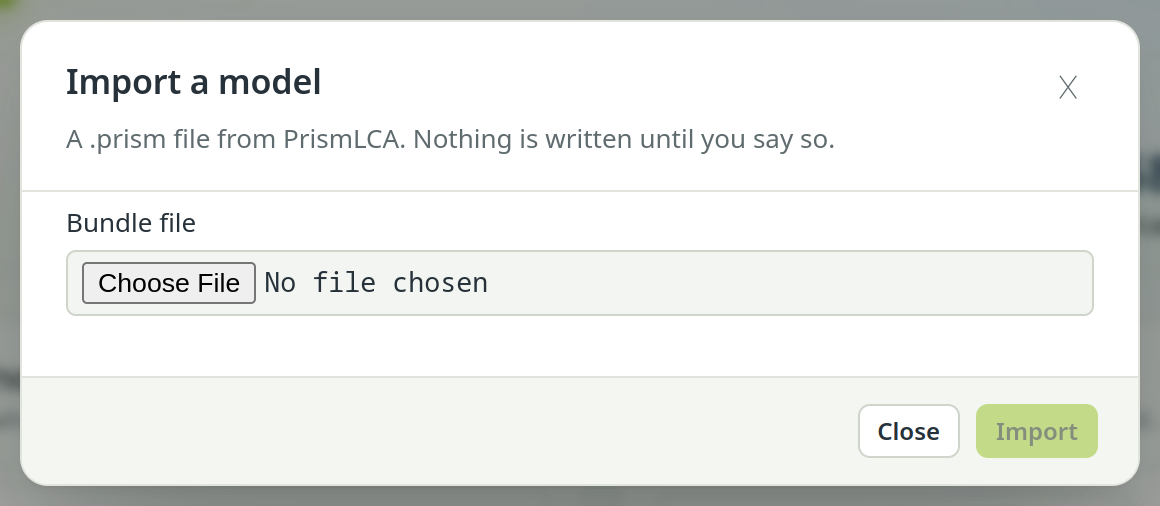
On the Overview, choose Model with the upload icon (“Import a model from a .prism file”). The sheet Import a model opens. It reads the file first and writes nothing until you confirm.
Pick the file#
Choose the
.prismfile under Bundle file. PrismLCA shows how many processes and flows it holds, which PrismLCA version wrote it and which sections are in it.Name it and file it#
Import as shows the name the model will get, and Folder where it will be listed. If you already have a model of that name, the import becomes a second, separate model — the two are never merged and the existing one is not touched. To replace a model, delete the old one first.
Check the background data#
Under Background data PrismLCA checks every background reference against your workspace. If they all resolve, Import becomes available. If some cannot be found, they are listed and nothing is written.
Import#
Choose Import. The model arrives as one step, which Undo can take back as a whole. Datasets from the sender's My processes land in yours as one import; any already there are kept as they are.
A file written by a newer PrismLCA can still be imported. Sections this version does not understand are kept unchanged with the model, so a later version can read them again.
Export for Brightway or the Activity Browser#
For someone without PrismLCA, the export sheet offers Export as a spreadsheet under For Brightway or the Activity Browser. You get an Excel workbook with two sheets that Brightway and the Activity Browser can read. It carries the processes, their flows, the formulas on amounts, the uncertainty distributions, the comments and the tags. The sheet tells you what a spreadsheet leaves behind — such as parameters, scenarios, goal and scope, reports and the canvas — so you choose with open eyes.
The same workbook comes back in: in Import a model (the upload icon next to Model on the Overview), choose a file under Or: a spreadsheet, check the name under Import as and choose Import spreadsheet. It becomes a new model. Links between its own processes stay inside it; every other input must exist in this workspace — if one does not, PrismLCA names it and creates nothing.
Duplicate a model#
A duplicate is the quickest way to try a variant without touching the original. There are two ways:
- On the Overview, click the duplicate icon on a model (Duplicate model). Give the copy a name (“hose-reel (copy)” is suggested) and choose Duplicate. The copy lands in the same folder as its original.
- Choose + Model and pick a model under Duplicate from (optional).
The copy takes the processes and flows, the tags, the goal and scope, the parameters and the scenarios. Background datasets stay shared references, as always. A link to a comparison model is not copied: comparing is a decision you make for each model. The copy's audit log starts with a line saying where it came from.
Sort models into folders#
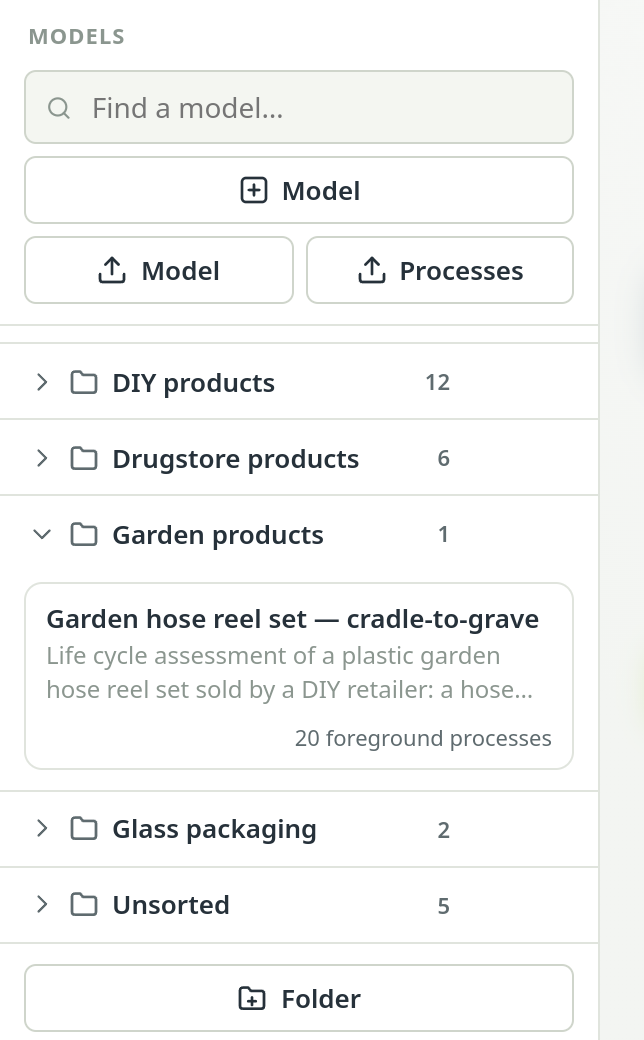
The Models list on the Overview can be sorted into folders. Choose Folder at the bottom of the list, type a name and choose Create. Then drag a model onto a folder. Models in no folder are listed under Unsorted, always last — drag a model there to take it out of its folder.
- The pencil on a folder renames it; the bin deletes it. Deleting a folder keeps its models — they go back to Unsorted.
- New model and Import a model both let you choose the folder while you create the model.
- Find a model… searches all folders and keeps the grouping, so you see where a model lives.
Model info: goal, scope and study details#
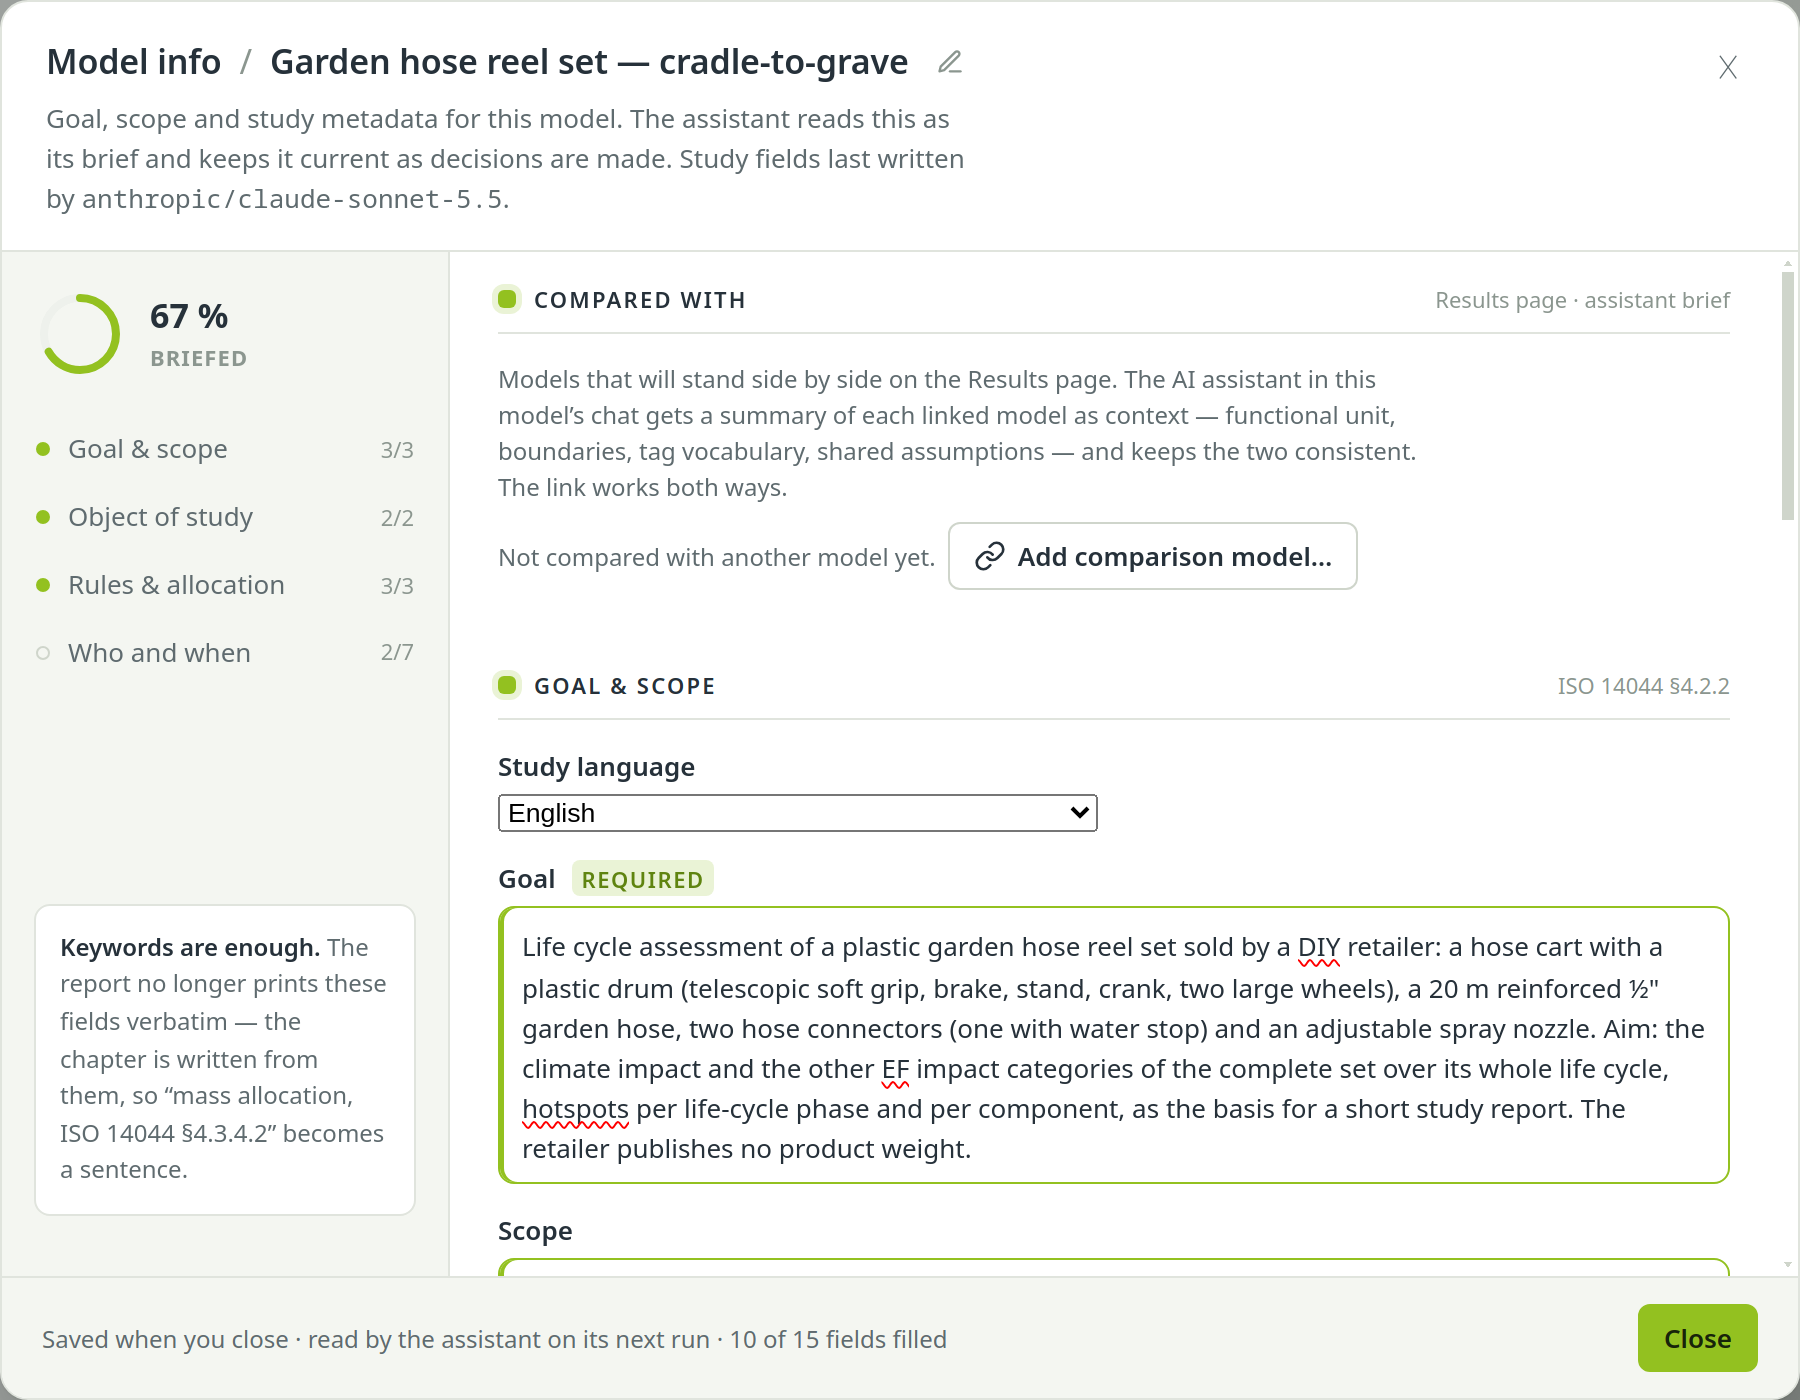
Model info holds what the study is about. Open it from the info icon on a model in the Overview, or with Model info in the model toolbar. It has four sections:
- Goal & scope
- Study language, Goal (why the study is done, for whom, which decision it supports) and Scope (what it covers and what it leaves out).
- Object of study
- Functional unit, reference quantity, Geography (where the product is made and sold), Reference year and System boundaries. The assistant matches its datasets to the geography; while it is empty, the assistant asks for it instead of guessing from the language you write in.
- Rules & allocation
- Cut-off criteria, Process allocation and System allocation (end of life).
- Who and when
- Author(s), Carried out by, Commissioner, Date, whether a critical review was carried out, and Notes.
Keywords are enough here: the report does not print these fields word for word. The assistant reads Model info as its brief and keeps it current as decisions are made; when it has written study fields, the sheet names the AI model that wrote them. The health check reports scope fields that ISO 14044 asks for and that are still empty.
There is no Save button. The sheet saves what you changed when it closes — with Close, the ✕, Esc or a click beside it — as one step that Undo takes back.